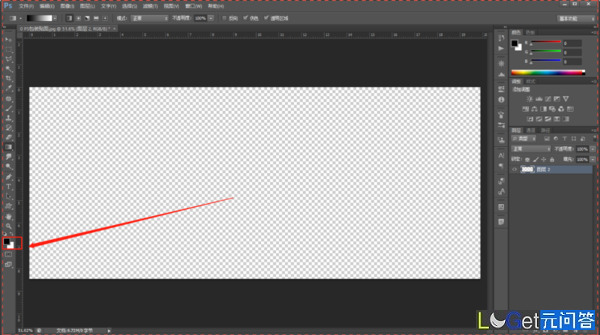
(1)photoshop軟體打開後,新建空白圖層,前景色是黑色的。
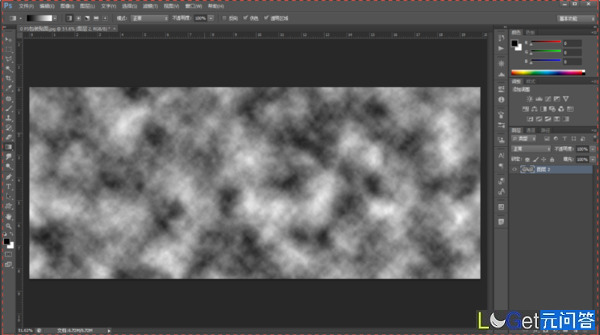
(2)我們選擇【濾鏡】-【渲染】-【雲彩】,點擊確定後,形成了黑白的雲彩效果。
(3)我們選擇【濾鏡】-【像素化】-【馬賽克】,點擊確定後,形成馬賽克的效果。
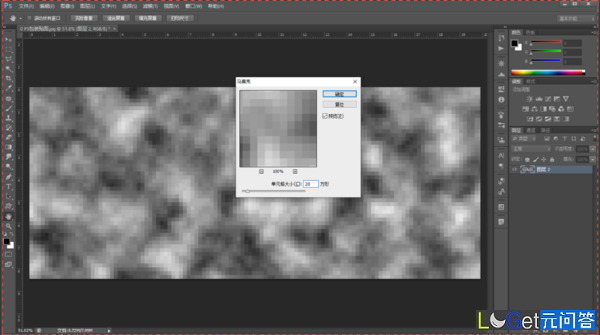
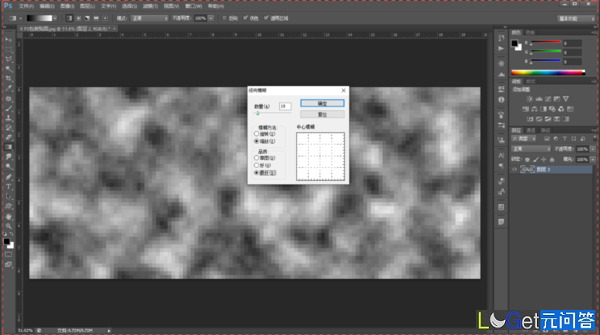
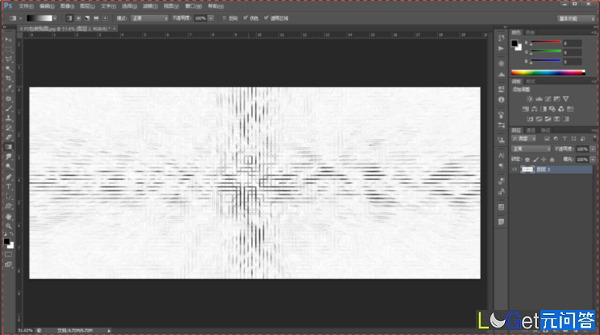
(4)我們做一次【徑向模糊】。選擇【濾鏡】-【模糊】-【徑向模糊】。
(5)點擊確定,做完兩次【濾鏡】-【風格化】-【查找邊緣】後,形成了具有科技感的背景線條。
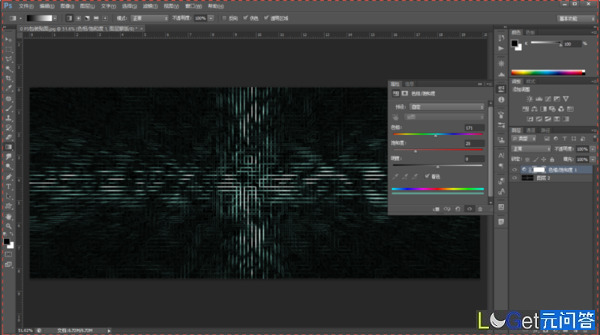
(6)我們可以將背景的顏色反相,調整成自己需要的顏色,效果就做好了,可以搭配其他文字和線條,做成科技感的海報。
在上面的案例中,重點是學會使用【濾鏡】-【模糊】-【徑向模糊】,加上其他濾鏡,來製作「故障」照片的效果。